C/S Contacts:
Kristen Hajjar – ext. 8232
Routing:
- Log into NetSuite and go to the Sales Order Manager – Order Management Suitelet/screen.
- Shipping & Receiving tab – Order Management – 12th OR click link below
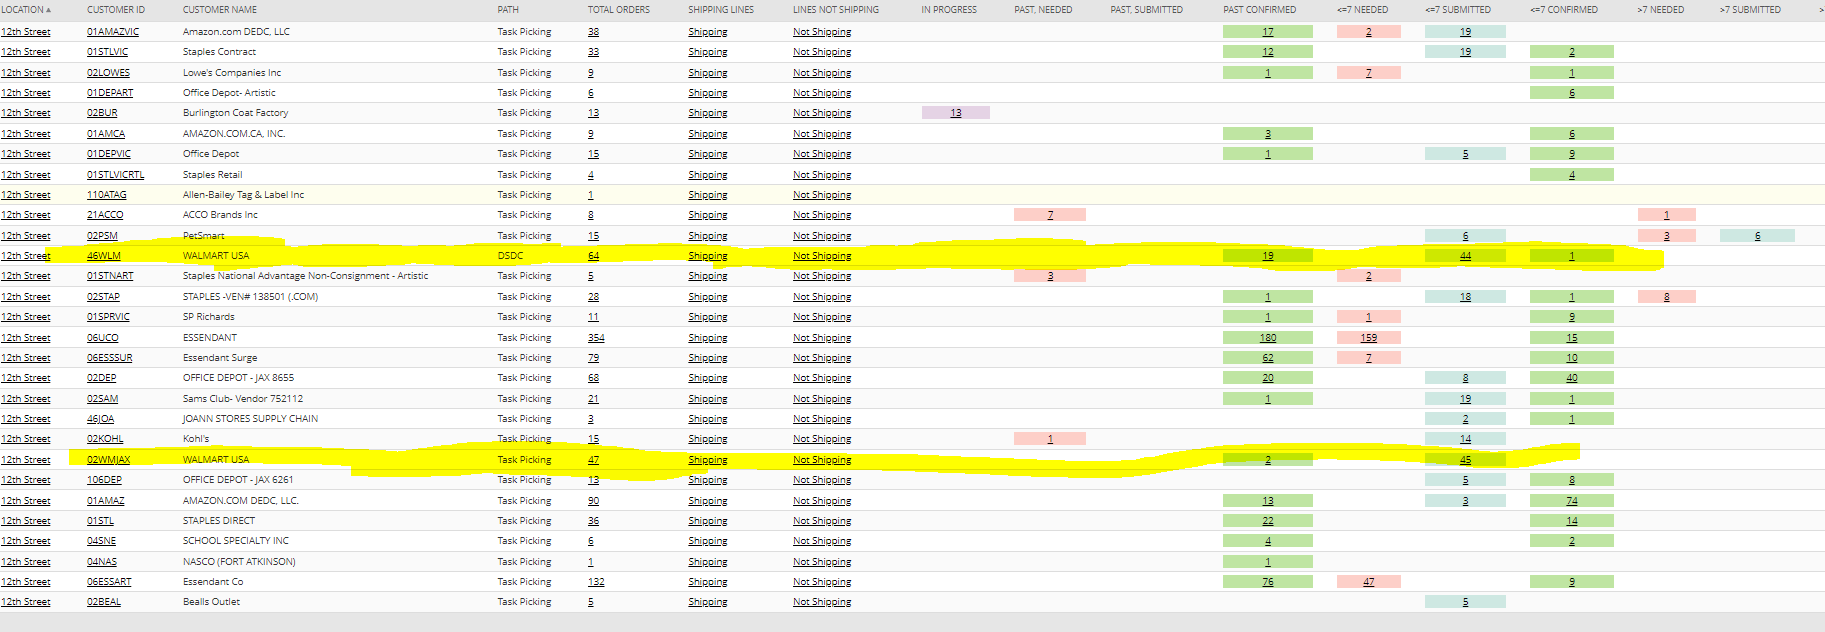
- Filter the data by:
- Location – 12th Street
- Ship via – Customer Routing Guide (-Pallet)
- Routing Status – Routing Needed
- Customer/Planned Ship date – located in the order release email Customer Service sends.
- Order Release Status – Released
- Once filters have been applied, click – Apply Filters
- See screenshot below:
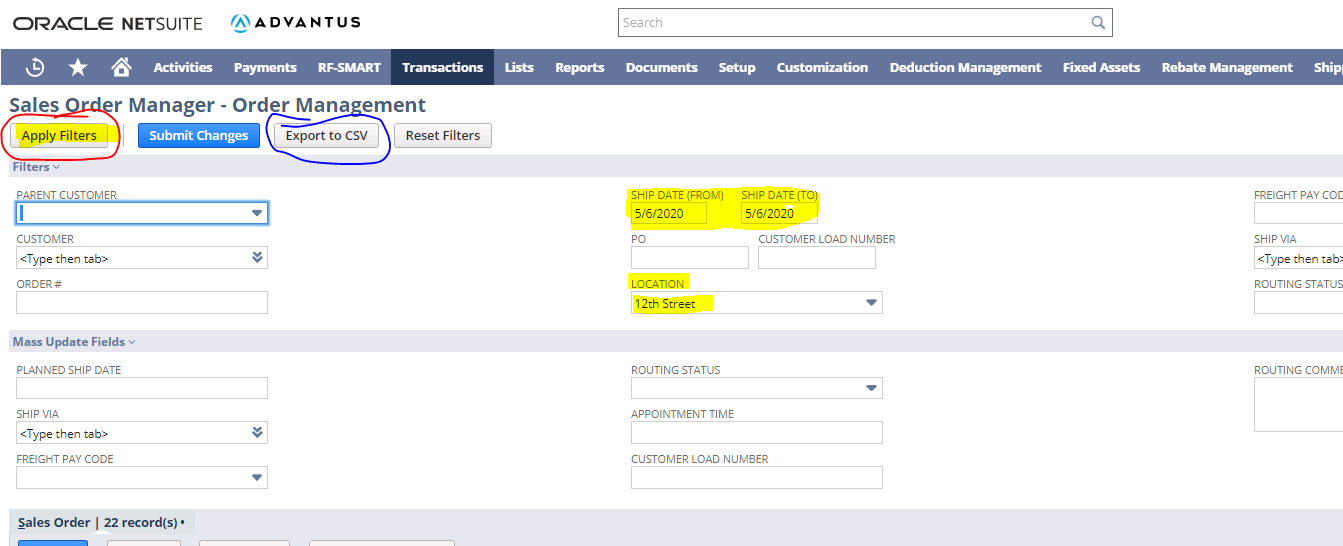
- Verify the number of 46WLM orders shown match the orders that Kristen released for that day
- POs on Tuesday for 46WLM) and (22 POs on Thursday for 46WLM)
- (02WMJAX POs – the number of orders that are released vary each week)
- Export the POs needing to be routed onto an excel spreadsheet.
- Delete all columns except for the ones below:
- UNLESS the cubes are higher than 55 – Then keep the Cubes W/ Pallets column
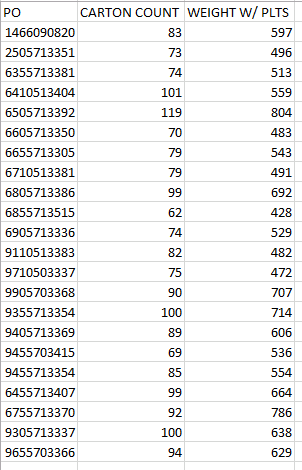
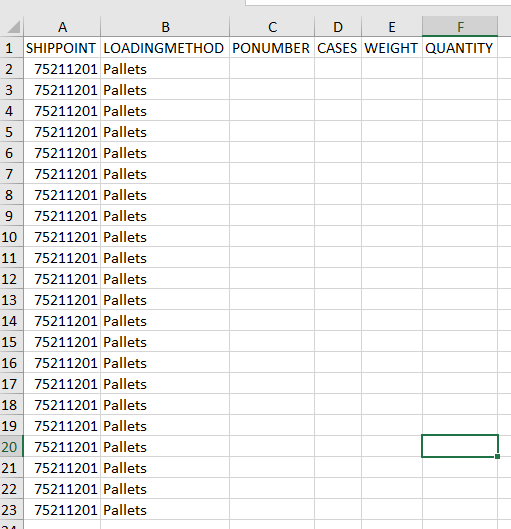
- Copy onto spreadsheet (shown on the following page)
- Be sure to paste as the second paste option (paste 123) as it will format the text to match the format on the spreadsheet.

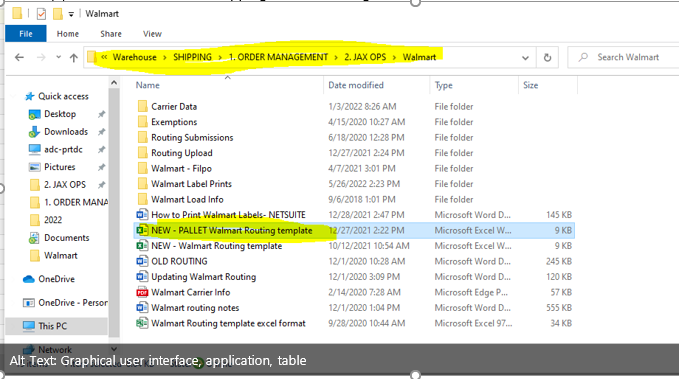
- Spreadsheet template found in folder: NEW PALLET ROUTING UPLOAD.xls
QTY = Pallets: when LOADING METHOD is Pallets
QTY = Cubes: when LOADING METHOD is Floor (cubes should be 55 for every PO unless the cubes show higher in NS) (If cubes are higher than 55, then put the # that shows for the cubes)
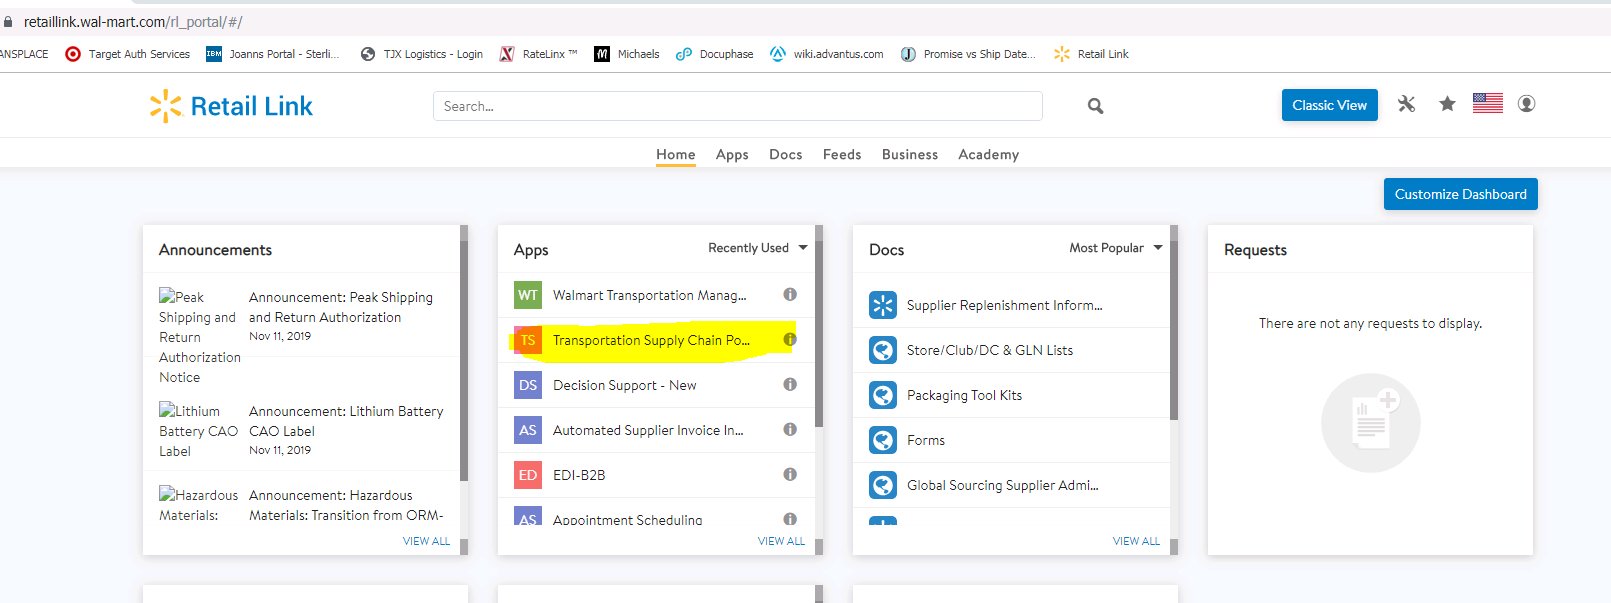
- Log onto Walmart portal:
Click Transportation Supply Chain Portal
(You might have to filter the Apps by “Recently Used” to find this.)
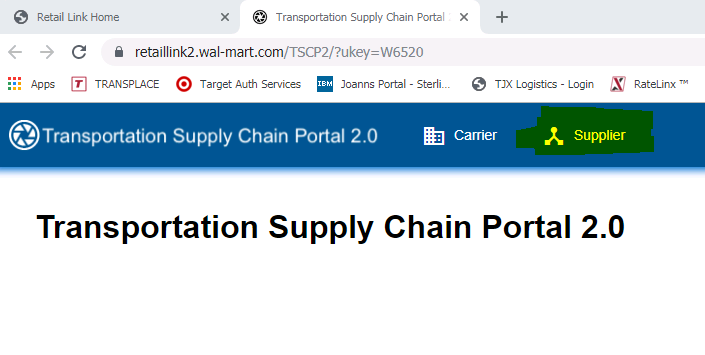
- A new window will open. Click on supplier tab:
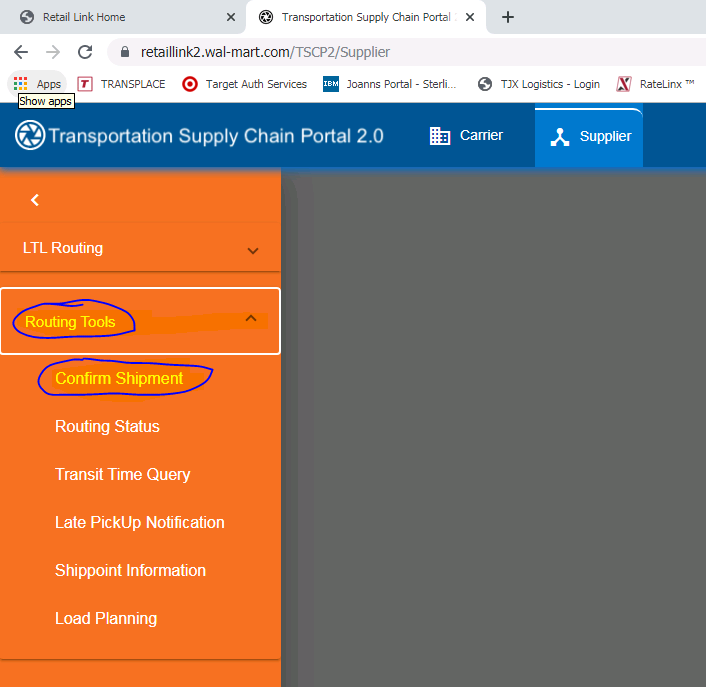
- Then click routing tools > Confirm shipment
- Click and drag spreadsheet in the highlighted section:

- Once all POs have uploaded, in the bottom right corner, click confirm.
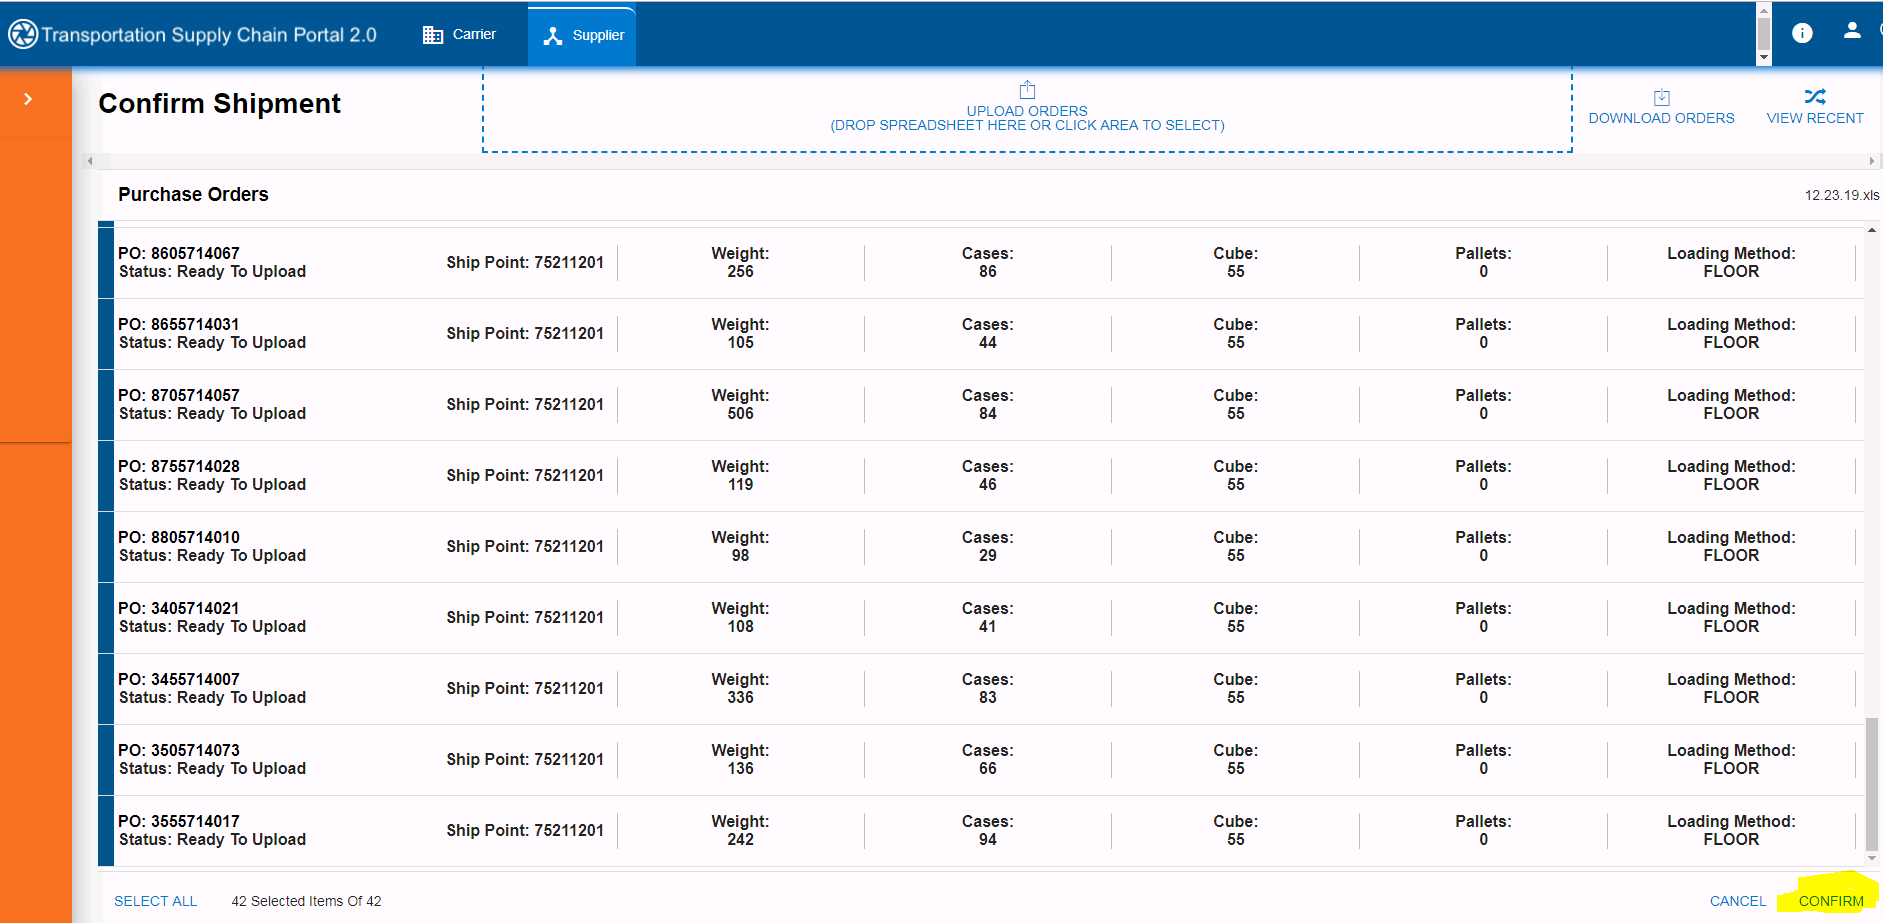
Routing will then be submitted.
- Update/Mark the orders in NS as submitted.
- If 02WMJAX orders have been submitted for routing, change the ship via from Routing Guide to Routing Guide-Pallet
