
A task must be created if you need to trash inventory and have it removed from the system, but you are NOT going to debit the vendor. Typically, only P&S or Business Managers should be creating these tasks.
IMPORTANT: If the vendor will be debited, DO NOT enter a task. P&S Specialist must work with SCM Buyer on a Vendor Return Authorization (VRA).
- Why would inventory be trashed?
- Written-off inventory that we cannot sell
- Closeout inventory with a handful of units on hand that likely do not exist or cannot sell to customers due to carton quantity restrictions.
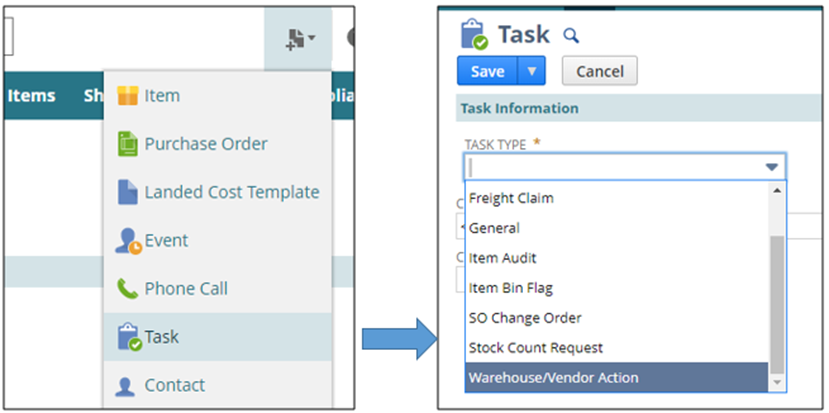
- Create a new task using one of two options.
- Option 1: New Warehouse/Vendor Action Task
- Option 2: personalize your quick add options to include “Task,” select it, and choose Warehouse/Vendor Action
Task Information Section
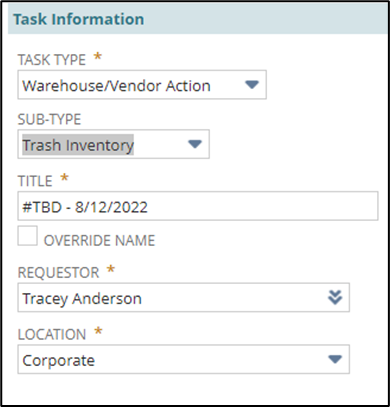
- Select Trash Inventory as Sub-Type
- The title will auto-populate after the task is saved.
- NOTE – You can override the auto-population by checking the Override Name box.
- Change Requestor if necessary
- NOTE – It will auto-populate to the user’s name.
- Change Location if necessary.
- NOTE – It will auto-populate to the user’s main location.
Directions & Notes Section
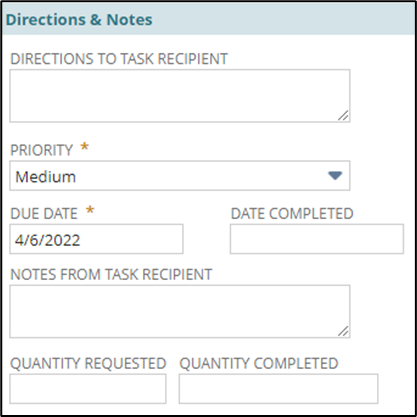
- Enter Directions to Task Recipient
- NOTE – Be clear and specific in your directions. Assume that someone new is reading these directions and needs to understand them clearly and easily.
- Adjust priority if necessary
- Enter due date
Vendor Errors Section
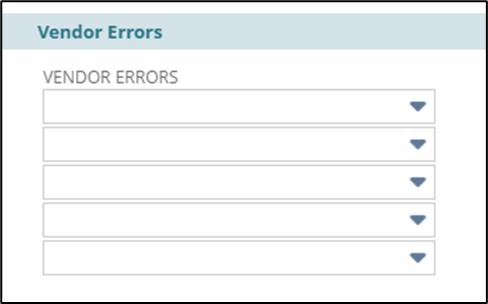
- Select the reasons if necessary.
- NOTE – It can be multiple reasons
Task Status Section
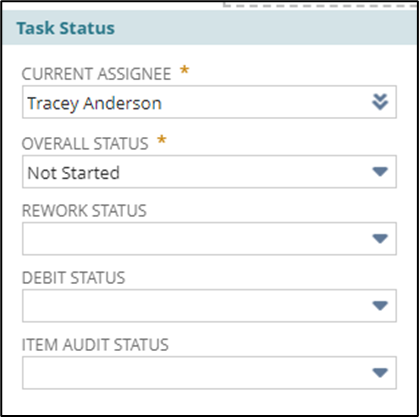
- Change the Current Assignee to the necessary team.
- NOTE –If you request a task for 12th, SHW, or GCR enter 12th Inventory Management regardless of the location. This does not apply to PBG.
- Leave Overall Status as Not Started
- Ignore Rework, Debit, and Item Audit Status
Related Records Section

- Enter Item number if applicable
- NOTE – If it is multiple items or specifically related to a PO, leave blank
- Select NetSuite PO if applicable
- Enter or select vendor
- Product Specialist and Buyer will auto-populate
Drop Files Here Option
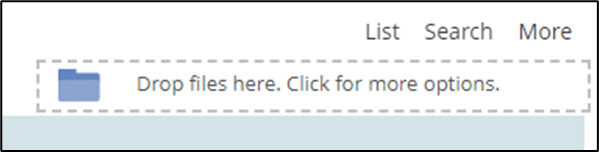
- Drag and drop any email backup related to the reason for trashing inventory.
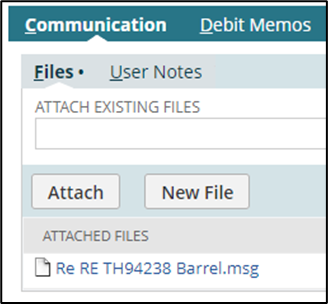
- NOTE – The messages can be found in the Communication subtab under the files sublist.
- Save
- Double-check the task to make sure all information is saved correctly.
- NOTE – There have been issues with the Current Assignee not saving on the initial task creation.

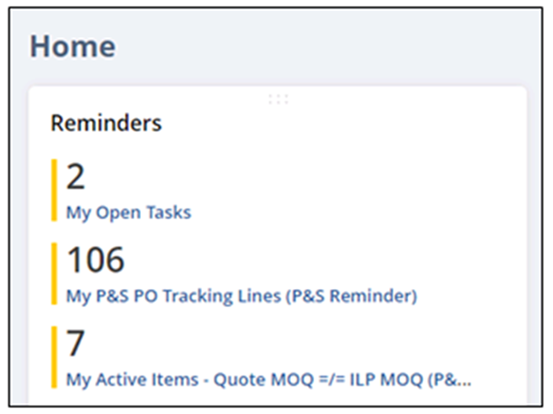
Your open task will appear on the Reminders portlet.
- Important Updates:
- What happens if the inventory is trashed at an outside location, such as a 3PL?
- The task should be directed to the Buyer responsible. They will contact the 3PL to have it trashed and remove it from the system.