- Log in to the Lead Retrieval service and download the list of leads from the show. This may also be emailed to you. Filter out all columns, except, first name, last name and email address. Save in the appropriate tradeshow folder.
- Login to campaign monitor using the credentials found in Bitwarden: https://advantuscorp.createsend.com/login
- To select the appropriate division, click Clients, then scroll down to find the list of Clients and click Floating Luxuries.
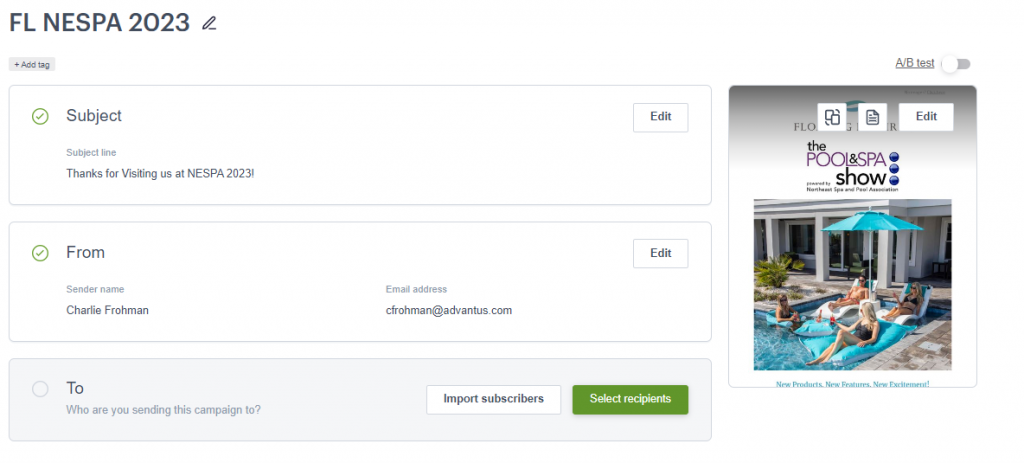
- Find the last Tradeshow e-blast, hoover over it and click “copy” on the far right. A copy of that e-blast will appear under Drafts.
- Click on the e-blast under Drafts to open.
- Edit the Campaign name to the most recent Trade show by clicking the pencil icon located on the right. Change the name and click save.
- Edit the Subject line by clicking the edit button on the right.
- “From” will always Charlie Frohman and his email address- cfrohman@advantus.com.
- Leave “To” blank for now.
- Click edit on the image to the right to begin updating the e-blast.

- Locate a hi res logo for the show you are creating the e-blast for. This image can be located in the exhibitor package or found on the show website. Save the image in the appropriate Tradeshow folder in the SharePoint drive.
- Hover over the logo and click replace.
- To the left click “Upload image”, find the saved image and select it.
- In the body of the email, change the year and name and city of the tradeshow. Everything else will remain the same. The Catalog, Dealer Price List, Product Images and MAP Policy are already saved in the links.

- Once all edits are complete, Click Send a Test.
- Enter your email address and click send test.
- Once you receive the test email (check junk folder), review for accuracy. If all is correct, send the Charlie for approval.
- Once Charlie approves the e-blast, log back in to campaign monitor, select this campaign, then click Import Subscribers. Go to the list of leads and drag and drop the file into “Add subscribers”.
- Match custom data will appear, click save and continue.
- Click Prepare to Send.
- Click Immediately, then Continue.
- Click send now.
