| Step | Action |
|---|---|
| 1 | Click HERE or copy and paste the following into your web browser: https://system.netsuite.com/downpage/US/netsuite.html
|
| 2 | Create the Sales Order |
| 3 | NS Path 1: NetSuite > Transactions Tab > Sales > Enter Sales Orders
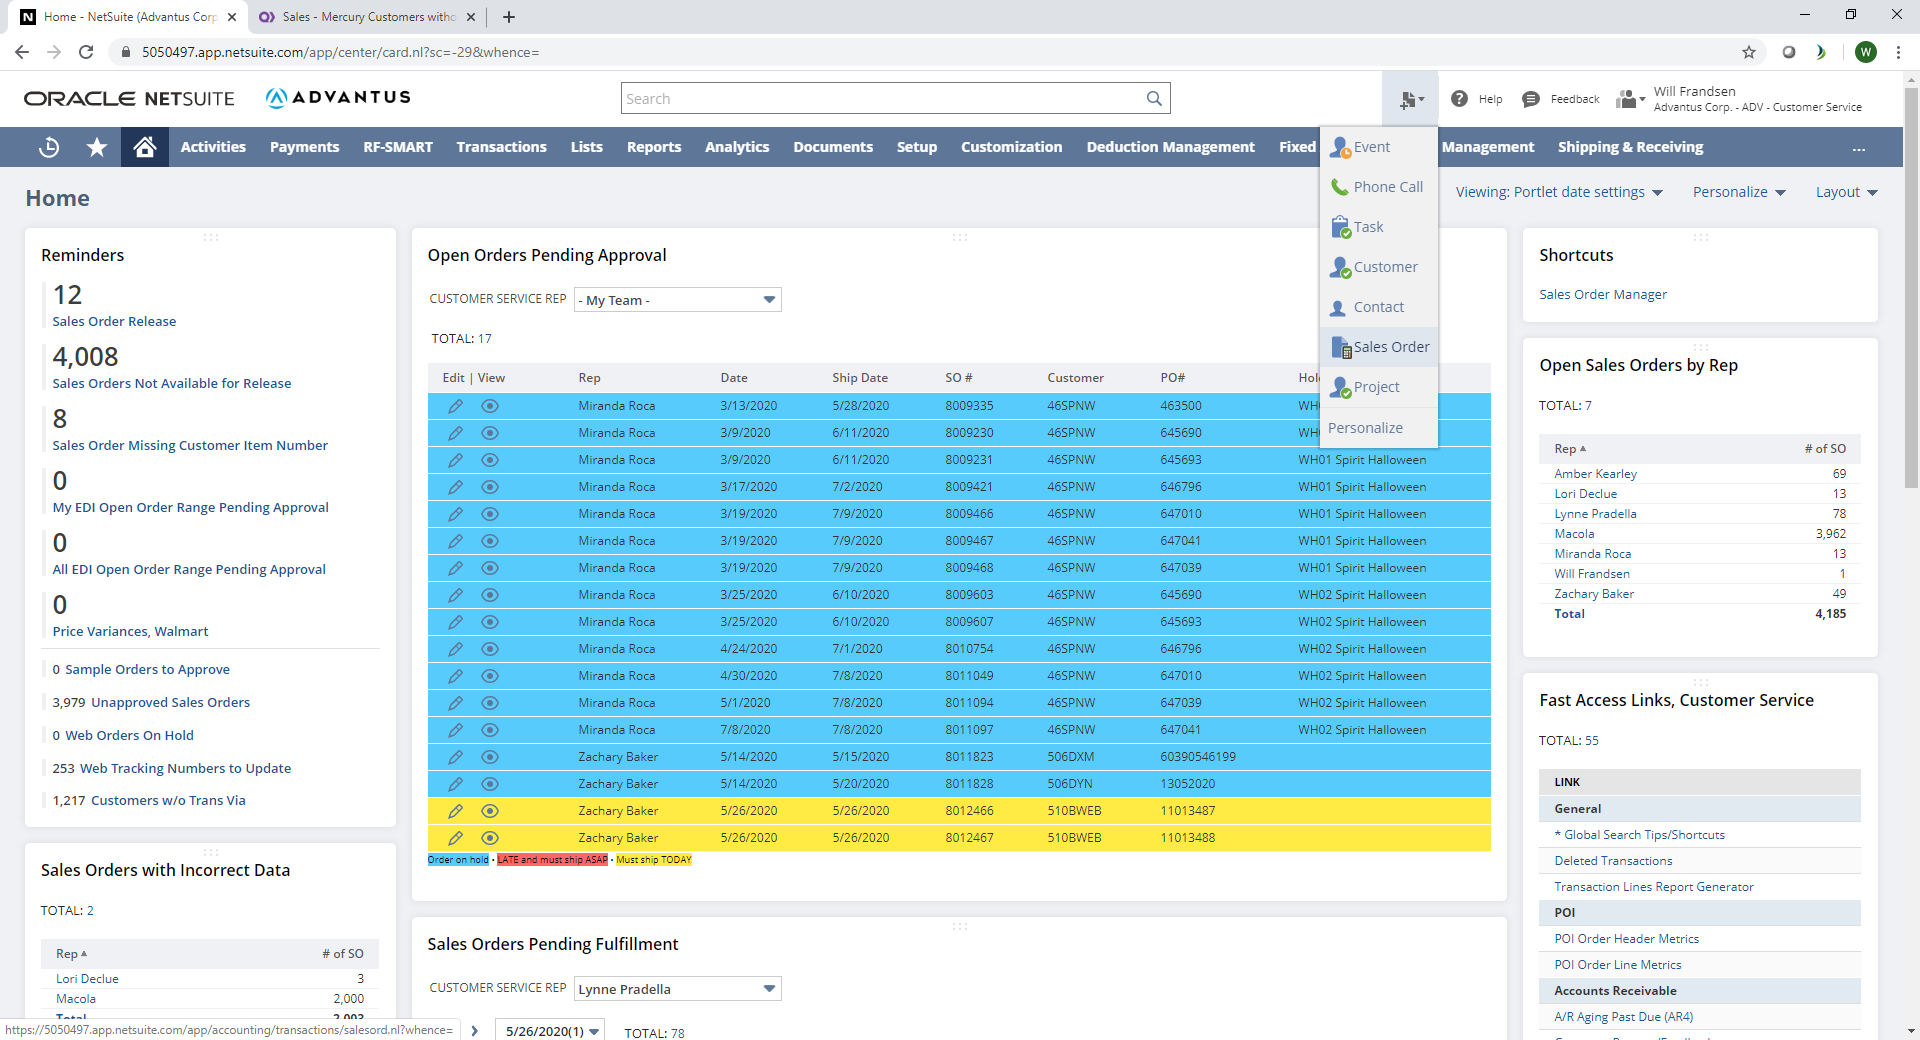
NS Path 2: NetSuite > Under the Fast Access Links Portlet, click the Enter SO link. NS Path 3: NetSuite > Click the Shortcut Icon in the upper right > Click Sales Order
|
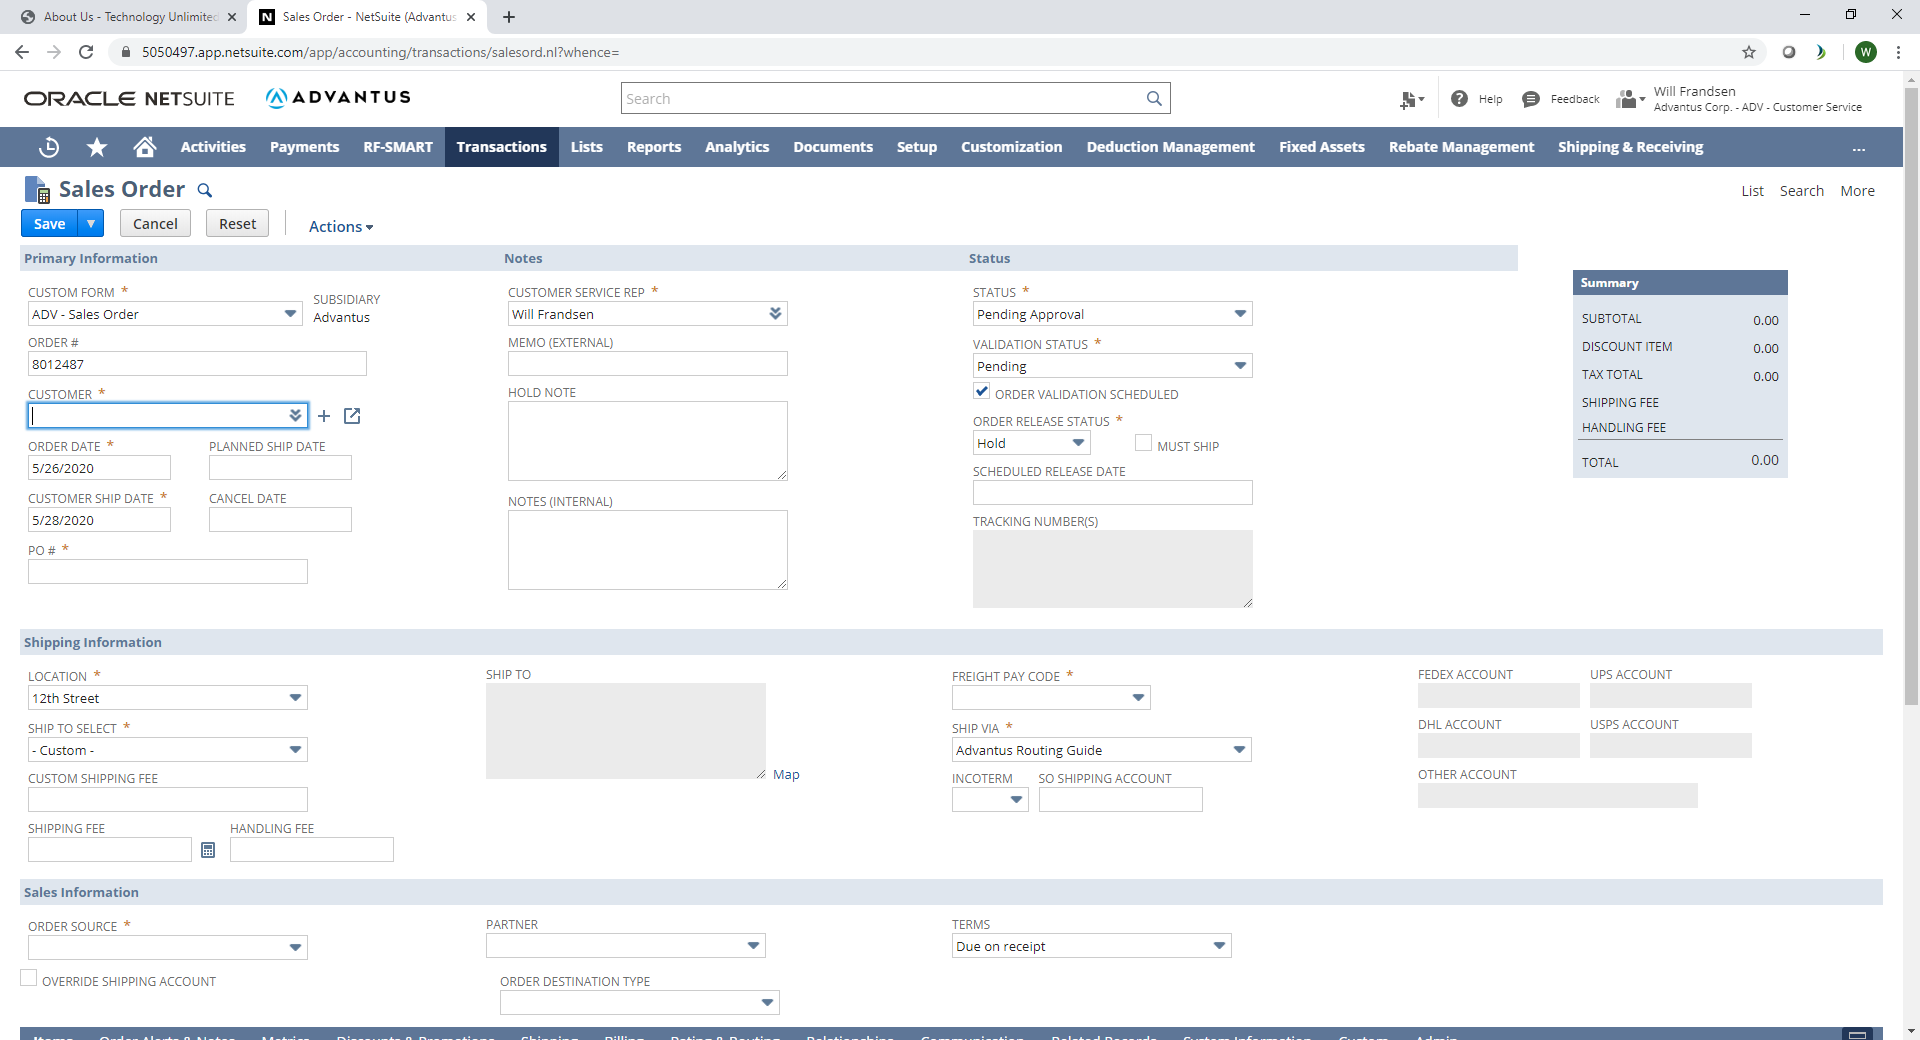
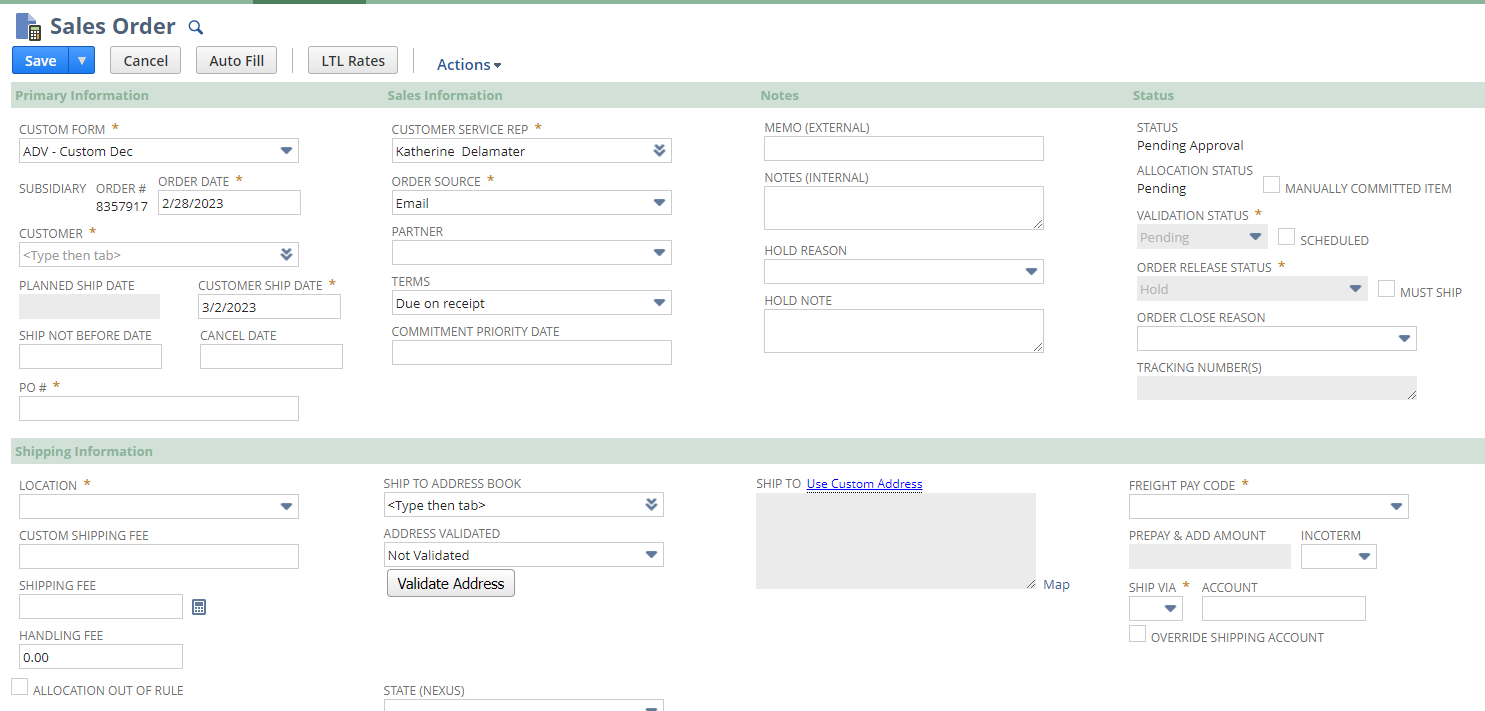
| 4 | Change the field labeled Custom Form from ADV-Sales Order to ADV- Custom Dec.
Order # will auto-populate.
|
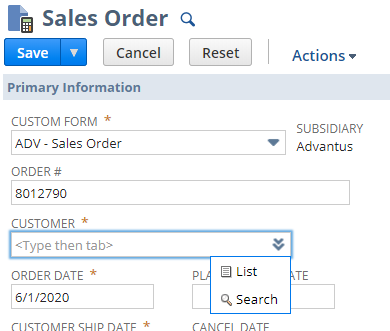
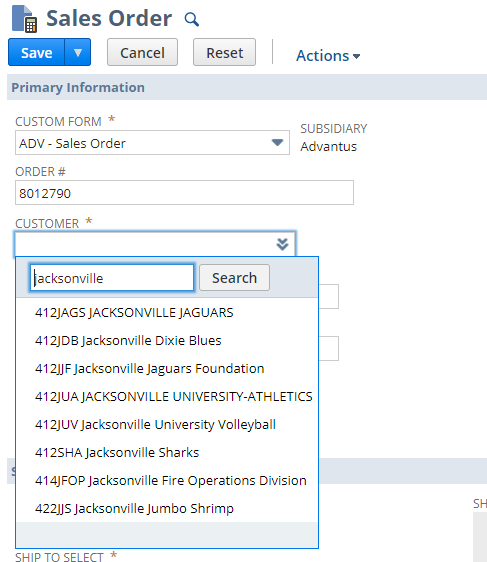
| 5 | Enter the Customer name via List or Search. Click Tab.
|
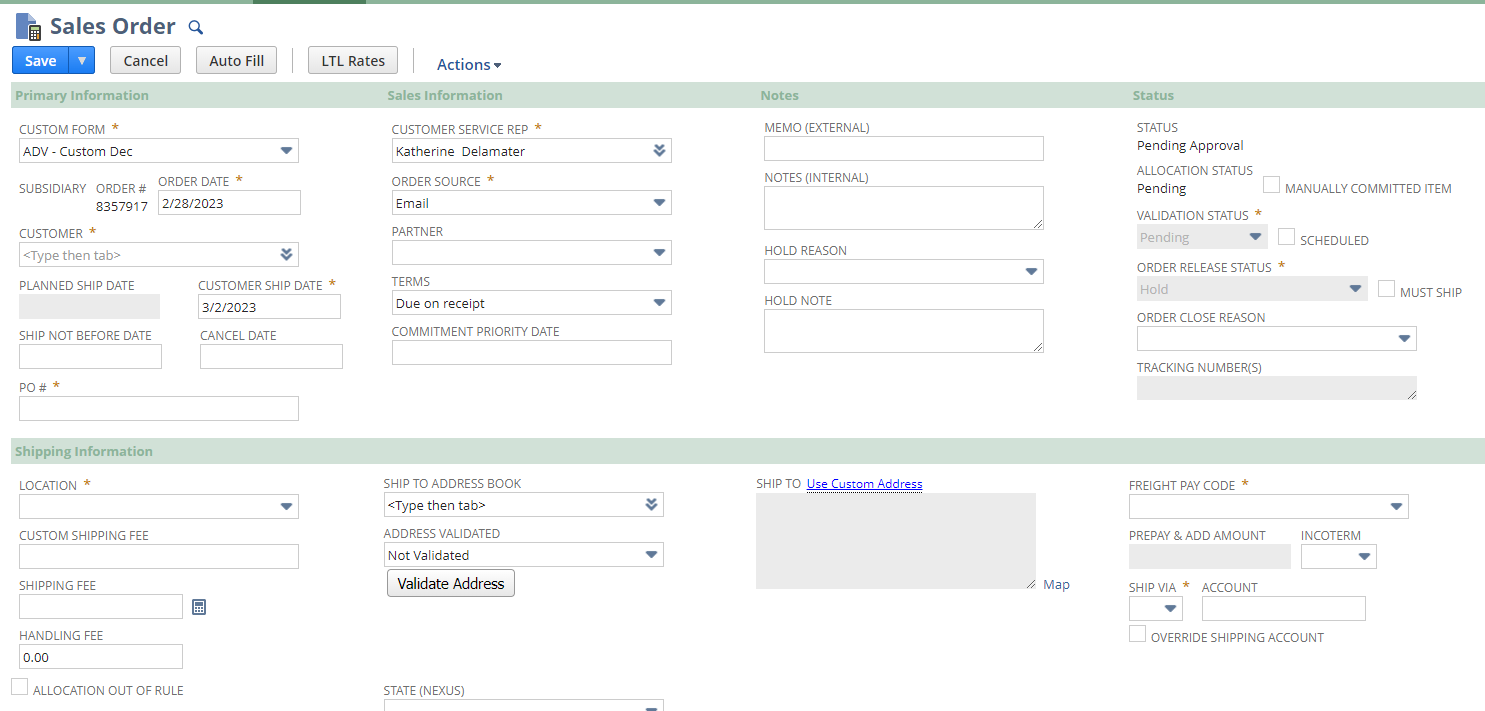
| 6 | Enter the Customer Ship Date and Planned Ship Date. Customized Grip-A-Strip orders ship 14 days from order date. Enter Customer PO#.
|
| 7 | Enter Location (12th St), Address, Freight Pay Code (Shipping & Handling), Ship Via (FedEx Ground), and Account (if provided).
|
| 8 | Input the Item as seen below. In item Description, delete size range and input specified length according to PO. Be sure to include EC to EC, No return.
Smart Strip Satin custom 72” Ec to Ec no return |
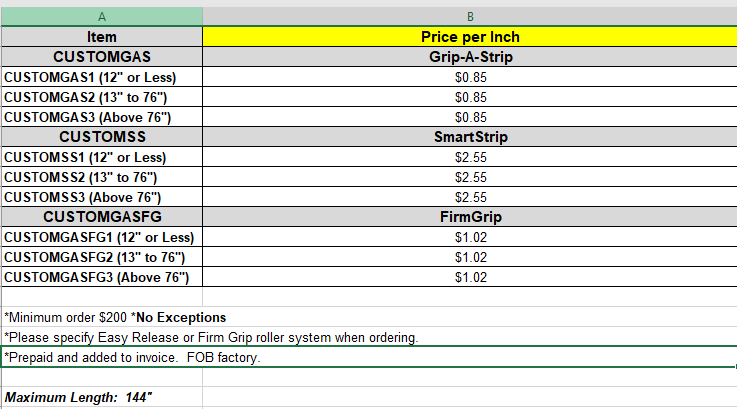
| 9 | Input PO price. System price should be according to most recent documentation of $. xx per inch. Click HERE to view the Pricing.
|
| 10 | Create the Work Order |
| 11 | 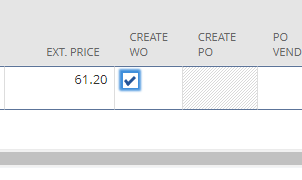 Check the Create WO box. Attach PO Drag and Drop Box then click Save. Note: Work order will not populate until the SO is ‘Approved’. Check the Create WO box. Attach PO Drag and Drop Box then click Save. Note: Work order will not populate until the SO is ‘Approved’. |
| 12 | Customize Work Order: Copy item description from the SO. Click the number link under Create WO and it will open the work order for you to edit.
|
| 13 | Paste the item description under work order instructions. Specify w/ standard or firm grip rollers.
Save Work Order
|
| 14 | Email Copy of Order Acknowledgement to customer for confirmation |
| 15 | When confirmation is received, go back into SO, back into WO and change the Status to Release the WO. Releasing the WO allows Production to see it and begin working. |
| 16 | Finally, ensure all documentation is attached to the SO via the Drag and drop folder. |
Customized Grip-a-Strip Orders
Updated on October 11, 2023

