Step 1: Log into Amazon Seller site
https://sellercentral.amazon.com/
Login info: rpolsenski@advantus.com
Advantus@2019
There may be a OTP request. Input the OTP delivered to zoom and it will take you to the homepage.
Step 2: From the home screen, click the three lines in the top left corner to get the drop-down menu.
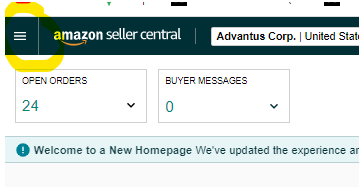
Step 3: In the drop-down menu, scroll to orders, then to order reports.

Step 4: Once on the order report page, select the subtab for new orders.

Step 5: If it is a Monday, you will want to select a date range of “last 7 days”, Tue-Fri select “last 2 days”

Step 6: Click request.
Report will show not ready; click the “Refresh” button after a couple of minutes. You may need to click a few times or wait an additional time for the report to be ready.

Step 7: Report is now available for download, click the download button to obtain report.

Report will now be available in the download pop up box. This is at the bottom of the screen or sometimes a box in the top right corner.

Step 7: Report must now be dropped into the folder to import into NetSuite. Folder link: \\edi-2016\NetsuiteCSVImport\Sales Orders\AMZFBM.
Open the above hyperlink and double click the drop folder to open.
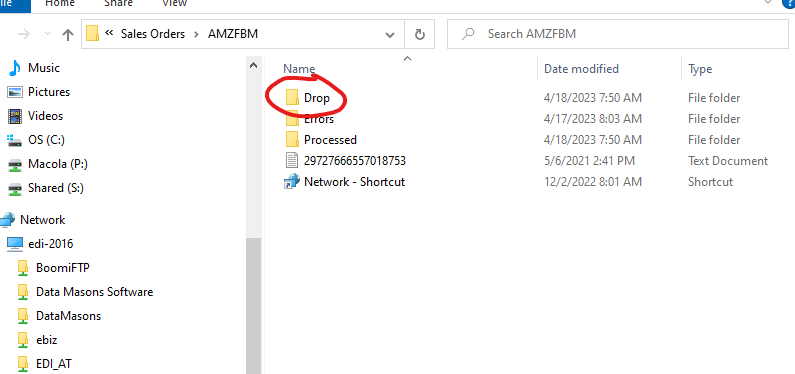
Step 8: Drag and drop the order report you just downloaded into the open drop folder. After a few seconds or minutes, there will be a processing notice in the folder along with the report. When the folder appears empty again, all the orders have imported.
Step 9: From NetSuite, navigate to Sales Order Manager – Customer Service. Filter by customer AMZFBM. Click Apply Filters.
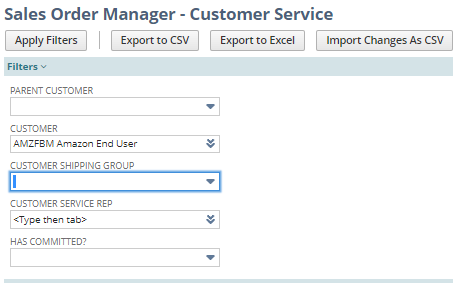
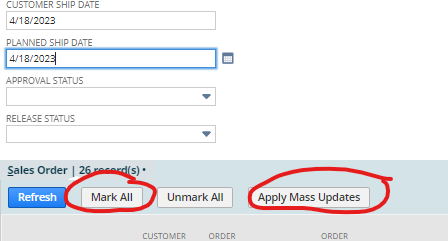
Step 10: The customer ship date and planned ship date need to be updated to the present day:
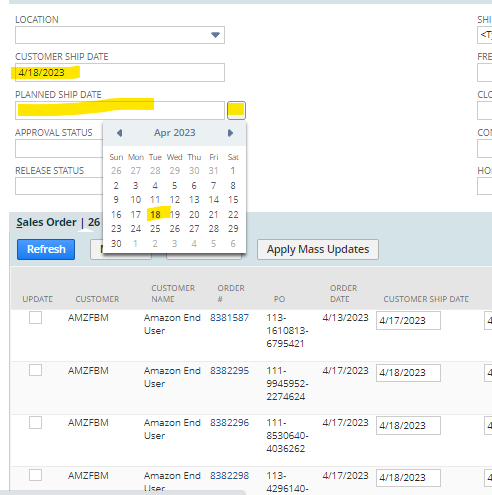
Step 11: Once you have the dates in the header chosen, click “Mark All” and then “Apply Mass Updates”
The orders will now turn a yellow/cream color to indicate there have been changes applied. To save the changes, click on the “Import Changes as CSV” button in the top left:

Orders are now imported, current, and will now auto approve and auto release.
