Purpose: To outline the steps to add new Ship Vias and Ship Via Mapping in NetSuite for a carrier the currently does not exist.
Adding a New Ship Via
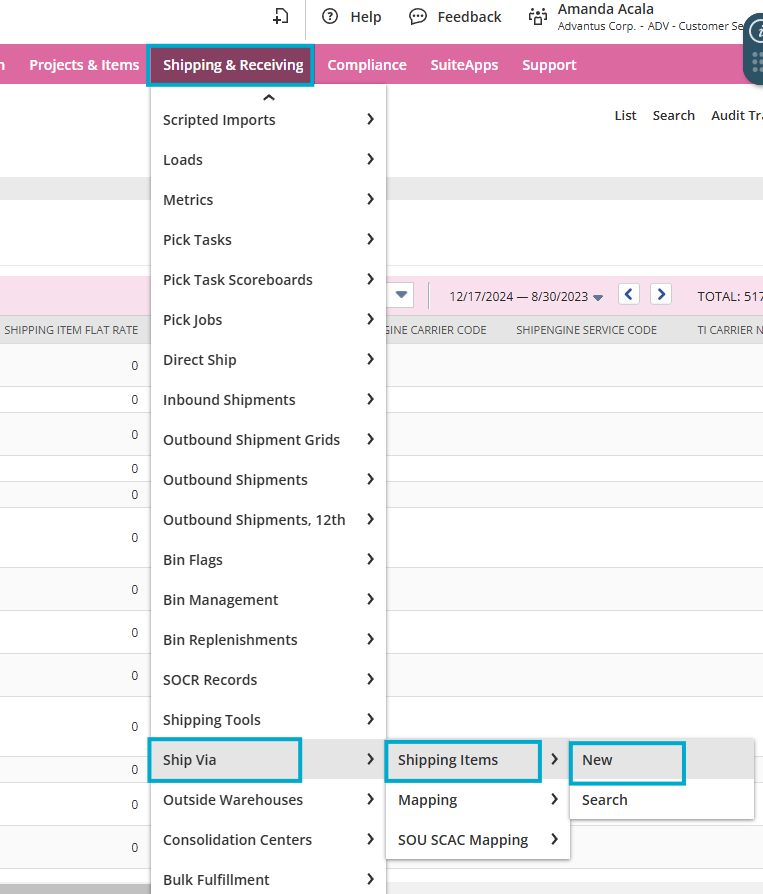
Navigate to the Shipping & Receiving Tab in Netsuite at the top of the page.

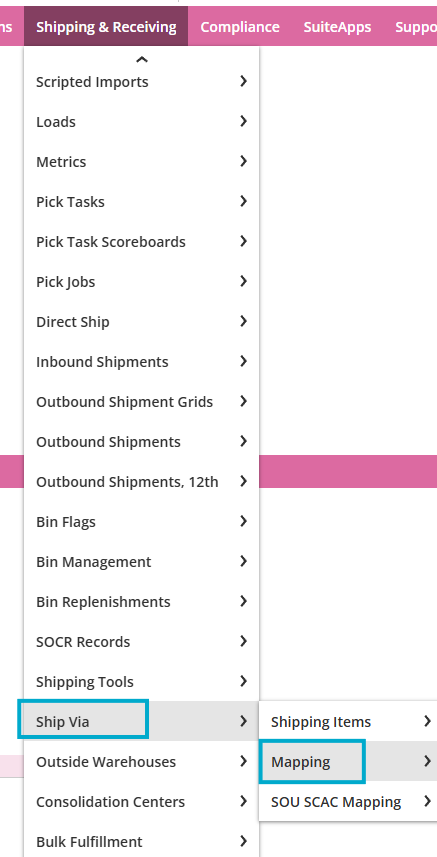
Locate Ship Via and proceed to the following Path: Shipping Items – New to create a new Ship Via.
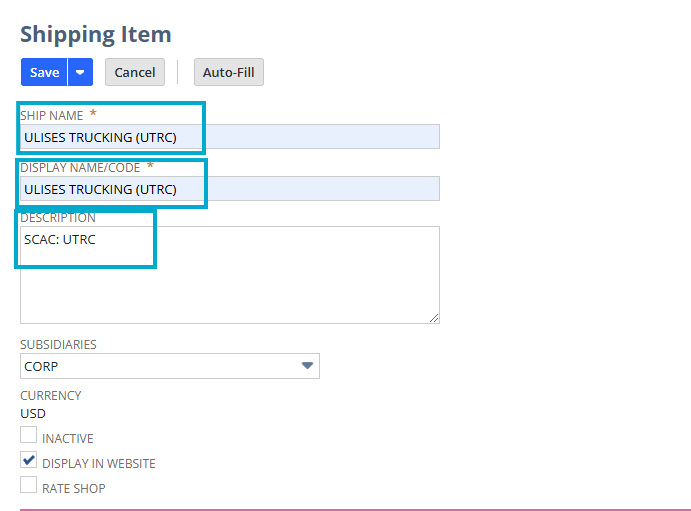
In the Shipping Item form, enter the following information:
- Ship Name: Name of the Carrier and the SCAC in the following format: Carrier (SCAC)
If this Ship Via is for OP Products, please include -OP at the end of the Ship Name.
Display Name/Code: Same value entered in the Ship Name field
Description: List the SCAC code for the carrier in the following format: SCAC: SCAC Code
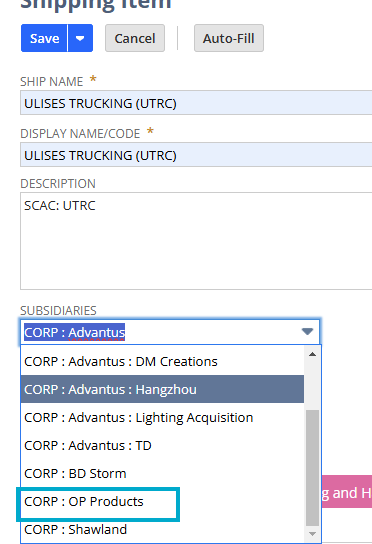
Note: If the Ship Via is for the OP Products Subsidiary, then you will need to update the Subsidiaries field by using the drop-down to select CORP: OP Products.
Under the Shipping Rate tab, enter 0.00 in the Flat Rate field and then click Auto-Fill.
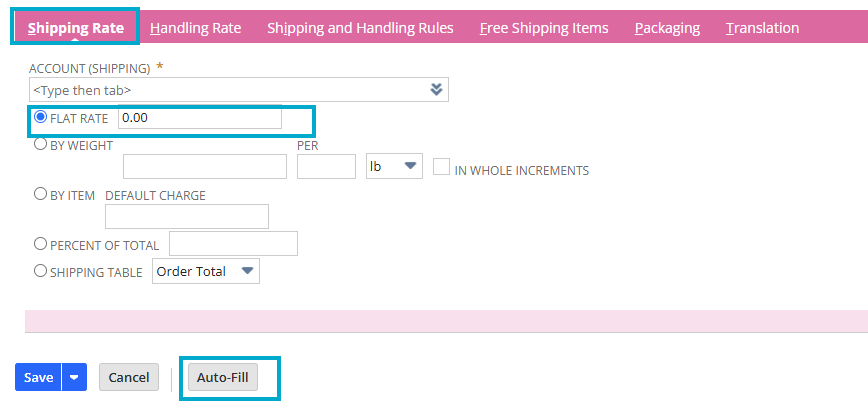
This should update the Account (Shipping) Field to reflect 72100 Freight Collections. Then click Save.
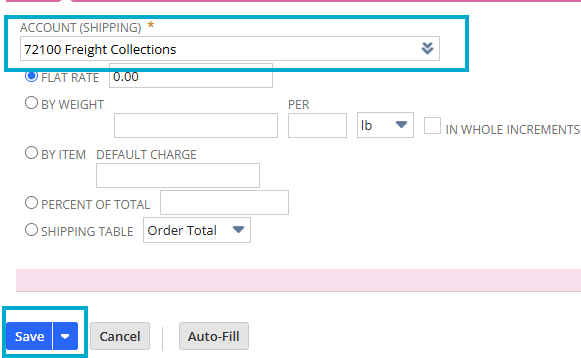
If this is a Ship Via for the OP Products subsidiary you will need to manually add the Account (Shipping) information by typing 72100 into the field and selecting 72100 Freight Collections. You will not be able to save the record without doing this, as this is a mandatory field.
Updating the Ship Via Mapping
Navigate back to the Shipping & Receiving Tab in Netsuite at the top of the page.

Locate Ship Via and click on Mapping.
Change the Quick Sort filter to Recently Created to view the Ship Via that was just created.
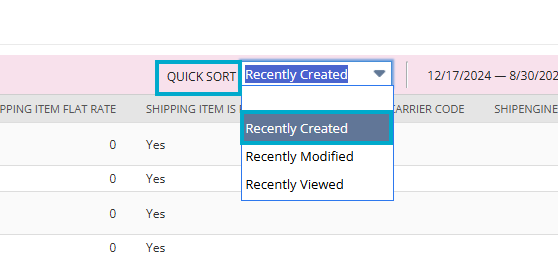
Put the list into Edit mode to change the Advantus Markup from 1 to 1.7 (the standard Advantus markup).

