You’ll receive an email like the below –

Using the login credentials in Bitwarden, log into Vendor Portal. Choose Applications > Content & Assets.

Click on the link, which will take you to a new window.

This is the home page for this system. If nothing is listed under this window, scroll down and click on “Item Maintenance.”

Check Content Maintenance and Asset Maintenance Workflows

Double check that the item is assigned to you – there should be a checkmark below “Assign to me”:

If there isn’t a checkmark, check the box and click “Assign”.
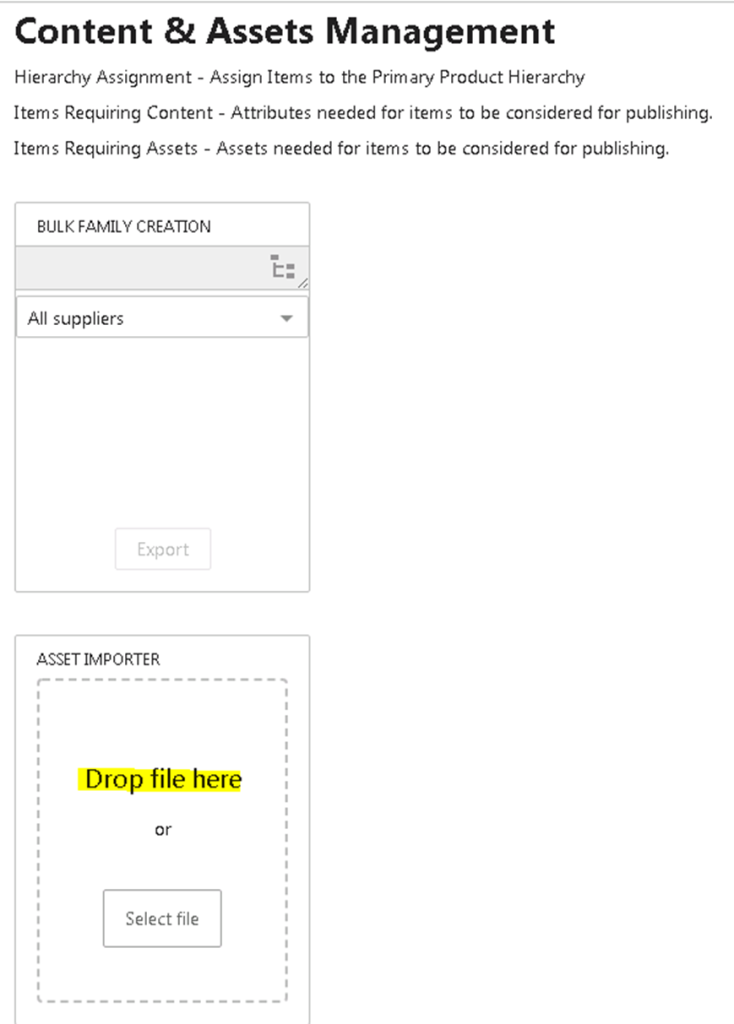
Click HOME to get back to the home screen and the Asset Importer. Drag/drop the needed image(s) to the Asset Importer. Before doing so, make sure they are named as follows:
- Images must be named as the OD SKU #
- Main Image should be marked with “_1” at the end; alternate images marked with “_2”, “_3”, etc

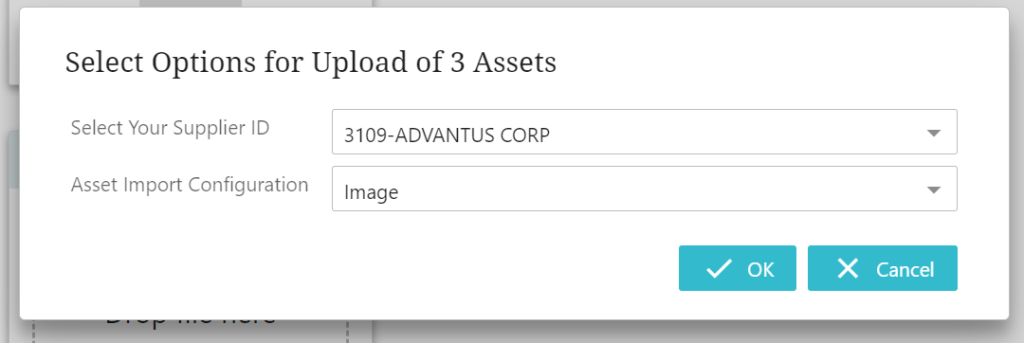
In the pop-up window, double-check that the fields are correct, then click OK.

Go back to Asset Maintenance and click on the SKU number

Click on the Add/Remove Assets tab.

Click on the + sign to the right of Image

In the pop-up window, click on the correct vendor folder and choose the images that you uploaded via the Importer tool.

Click Save at the bottom of the screen, then click Submit. The item will be submitted and will disappear from your Maintenance queue.


In the pop-up window, select the correct Asset Import Configuration is listed before clicking “OK”. For catalog page updates select “Print Only Image” from the drop-down menu.

Respond to the email and inform them that the image/file has been uploaded for their approval.

If they request an FTP link, please send the image/content to Graphics and request that they submit the content for you.

