SP Richards POS Report – Monthly
- Open the SSRS database –
http://adc-ssrs/Reports/Pages/Folder.aspx?ItemPath=%2fMarketing&ViewMode=Detail
- Choose “SP Richards – Sales Data By Item By Period” first.

- On the new screen, enter the date range of the last month and select “View Report”.

- Click on the floppy disk icon and choose “Excel” to export.

- A new window will pop-up with the data; choose “Open”.

- When Excel opens, choose “Enable Editing”.

- Remove Periods 2 & 3 data, leaving only this year’s data:

- This should only leave the current year’s data, the month that you chose when you ran the report on the SSRS site.

- Scroll to the bottom to double-check the totals, then save the report here under the correct year’s folder. Be sure to keep the report open, as you will need it later.

- Go back to the main screen of the SSRS report and choose “SP Richards – Office Depot Data by Item by Period”.

- Follow the same steps to enter the dates and export the data into an Excel spreadsheet.

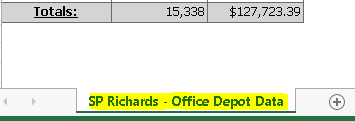
- Remove the columns for periods 2 & 3, and check the totals.

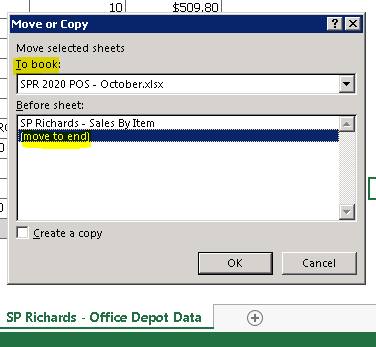
- At the bottom of the spreadsheet, right-click on the tab and choose “Move”.

- In the pop-up window, choose the saved POS report that you just created earlier and select “move to end”. Then click OK.

- Now, both pieces of your POS report are in the same Excel workbook. Save the Excel spreadsheet and close it.

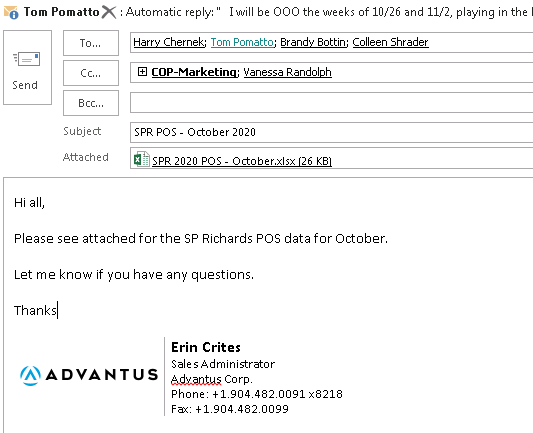
- Draft an email as shown below, attach the POS report, and send.

